| < Previous page | Next page > |
Creating a New Company Data File
The first step in using Nominal is creating a Company Data File (CDF).
To create a new CDF,
1. Click the New Company File button.

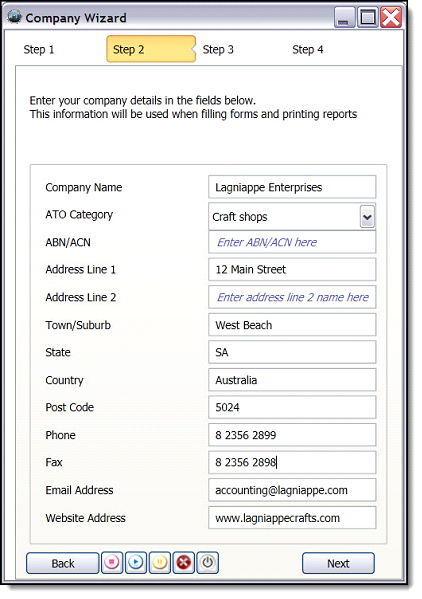
The Company Wizard Step 2 screen opens.
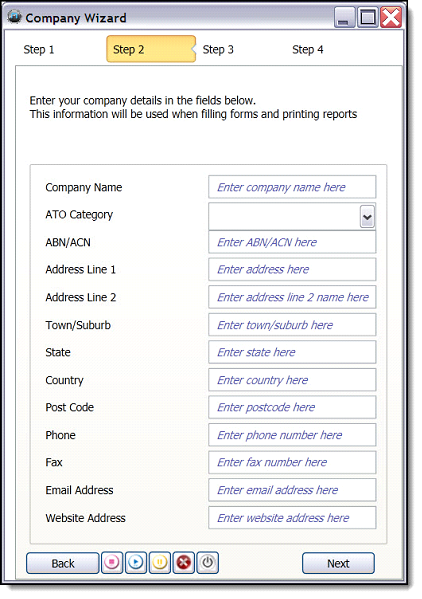
2. Enter as much information as possible in the fields on the screen.
NOTE: This screen can be returned to and modified at a later time.
NOTE: This information will be used in customer invoices so ensure that the information is accurate.
Once completed, the Step 2 form should look similar to this:
3. Click Next once you’ve entered the appropriate information. The Predefined Accounts (Company Wizard Step 3) screen opens.
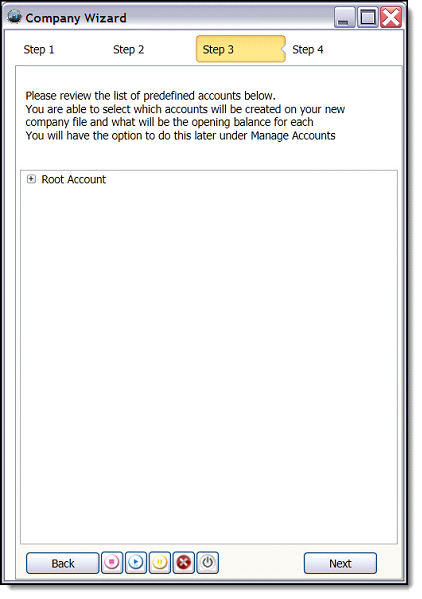
Click the plus sign next to Root Account to see the default account files folder structure. This is generally referred to as the Chart of Accounts. The default account files folder structure looks like this:
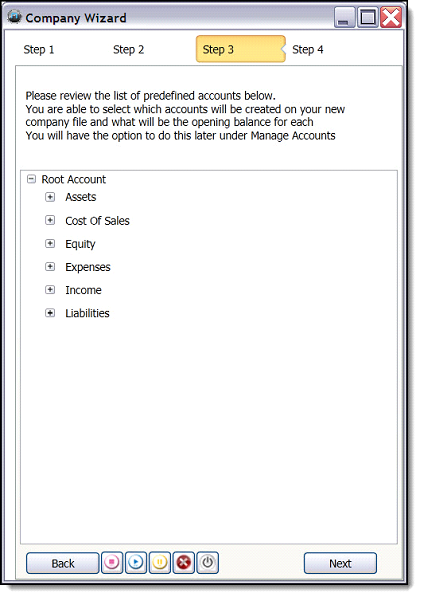
The default folder structure organises your data into Assets, Expenses, Income and Liabilities among other things.
4. Click the plus sign next to each item to see the sub-items.
It is recommended to leave the folder structure in its default format until you are more familiar with the software. Once you have become comfortable with Nominal, you can return to the Chart of Accounts and modify the structure to suit your needs. To do this, click Manage, then Accounts.
5. Once you’ve familiarised yourself with the folder structure, click Next to proceed to Step 4, Registration. Step 4 looks like this:
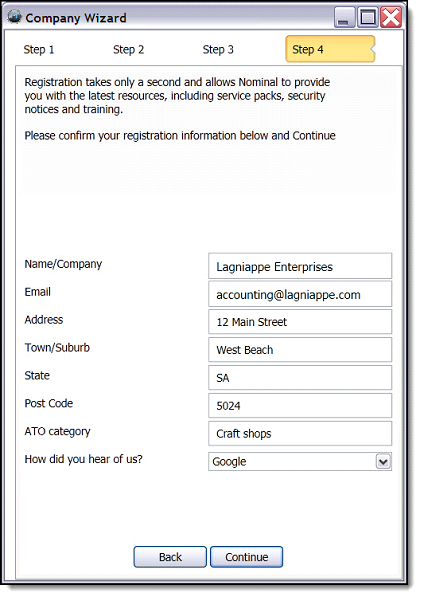
6. This screen is automatically populated with information from Step 2. Verify that the information is correct.
7. Choose the appropriate option from the How did you hear of us? dropdown field.
8. Click Continue.
After you click Continue, the Save As screen opens, prompting you to save your company files.
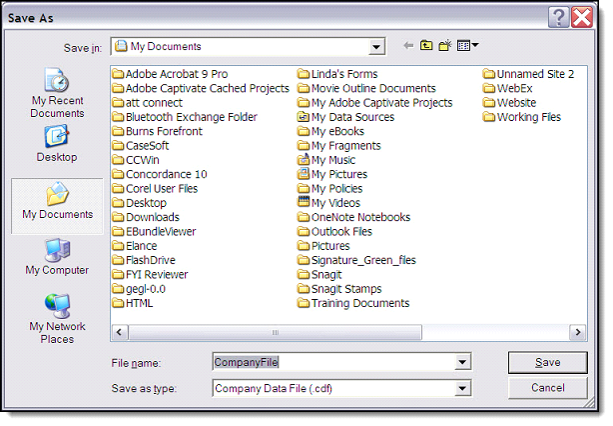
9. Type a name for your company in the File name field.
10. Click Save.
The software saves your company data file and launches Nominal.
|